This article describes the setting up of the application development environment with VS2015 for Windows Embedded Compact 2013(WEC2013). WEC2013 development can only be done on VS2012/2013/2015.
Install the following software on your development PC.
Application development for WEC2013 could be done with VS2012/2013/2015 and for this article, download and install Visual Studio 2015. Also, the Community Edition of Visual Studio 2015 will work too. As the Community Edition is free in many cases, you can check the (terms for details).
Note: On WEC2013 application debugging is done only via an Ethernet connection.
Note: WEC2013 is not available for the Colibri PXA Series, Colibri T20 (Nvidia Tegra 2), Apalis TK1(there is no Windows Embedded Compact Support).
Download and install the WEC2013 SDK from here.
The Remote Display Tool allows you to see the display content of the Toradex module. On WEC2013 remote display works over Ethernet only. Download the Remote Display V3 over Ethernet package.
- Copy CerDisp.exe to any folder on the Colibri/Apalis.
Execute it and click the "Start" button.
- Copy CerHost.exe to any location on your PC, and execute it. Choose the Menu "File -> Connect".
After a few seconds, the Colibri/Apalis module will show up in the list of available devices. Select the device and press OK.
- Copy the folders \AutoRun\ and \AutoCopy\ either
- to the Colibri \FlashDisk\ folder
- to the root folder of a USB pen drive
- to the root folder of an SD/MMC card
Whenever you boot the module or insert the pen drive or SD/MMC card, the cerdisp.exe tool will automatically run.
- Copy CerHost.exe to any location on your PC, and execute it. Choose the Menu "File -> Connect".
After a few seconds, the module will show up in the list of available devices. Select the device and press OK. If it doesn't show the module name, please fill the module IP address and press OK.
Note: We noticed that the Remote Display V3 (over Ethernet) loses connection as soon as the software keyboard (SIP) appears or disappears from the screen. Remote Display may or may not automatically reconnect. As a workaround, you can disable the SIP by adding a registry key
[HKEY_CURRENT_USER\ControlPanel\SIP]
Disabled = dword:1
With this development environment setup is complete.
Make sure you have setup the development environment, only then should you proceed further.
Start Visual Studio 2015.
On the File menu, click New and then Project. The New Project dialog box appears.
In the Templates pane, expand Visual C++ node and select Empty Project from the list of templates.
Specify a name and a location for the application and then click OK. Uncheck the Create directory for solution box.
New empty project on X86 and X64 platform will be created.
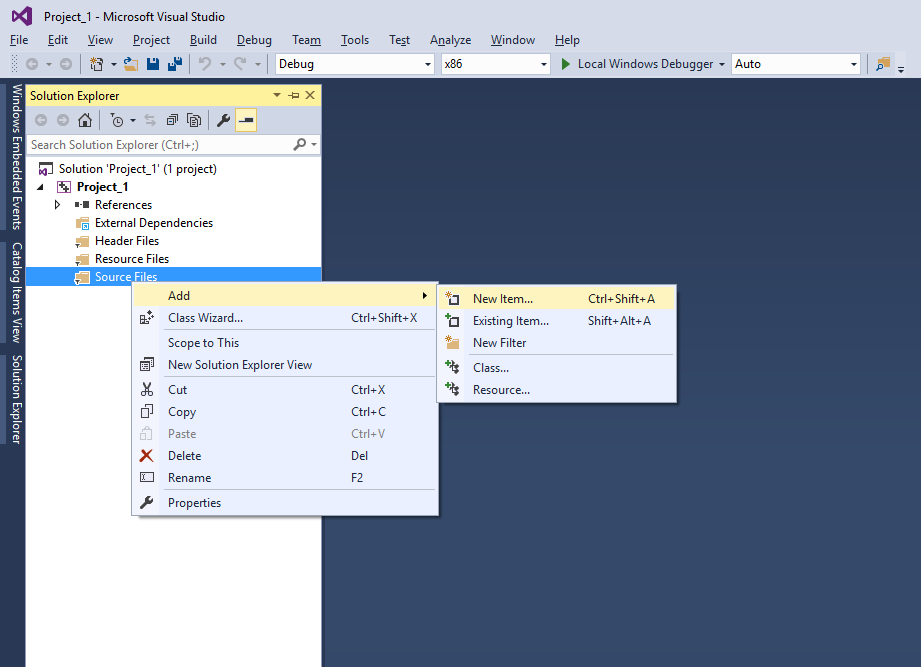
- In the Solution Explorer right click on Source Files select Add then New Item.
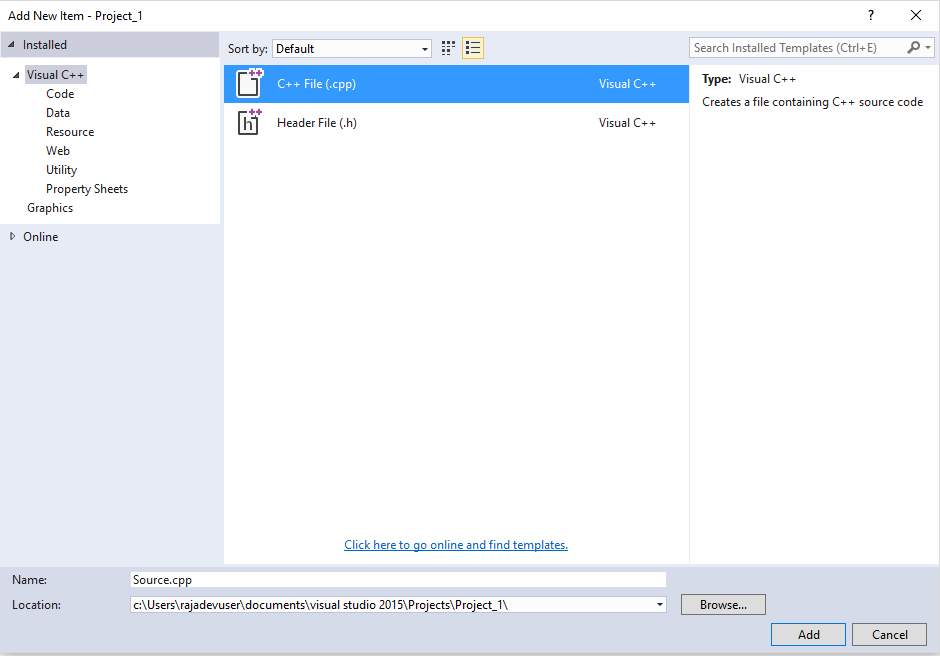
- In the Add New Item dialog box select C++ File(.cpp), give desired name to the file and click Add.
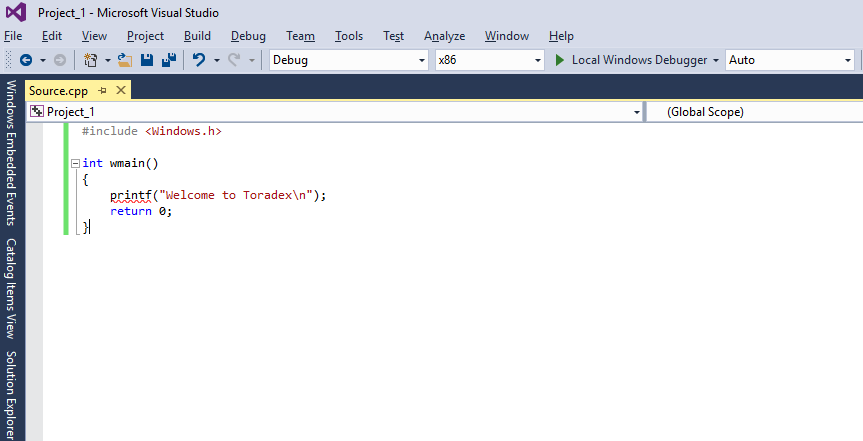
- Edit the code as follows:
#include <windows.h>
int wmain(void)
{
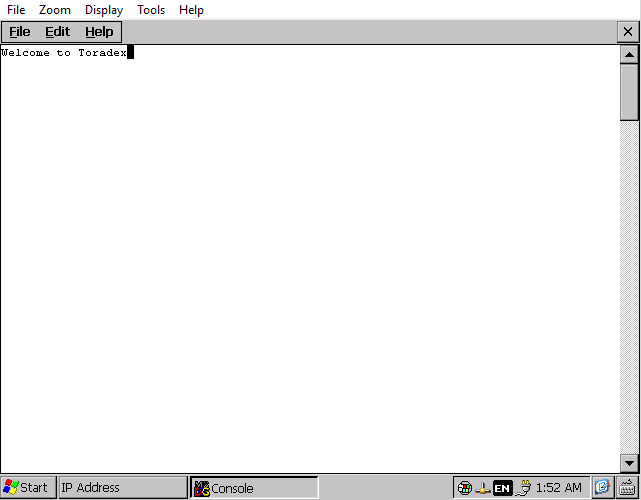
printf("Welcome to Toradex");
return 0;
}
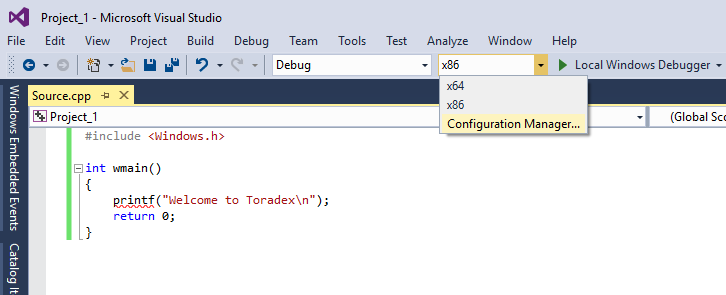
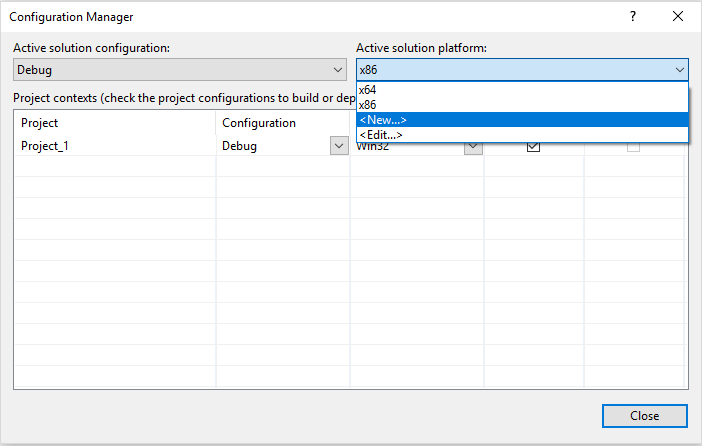
- In the Platform drop-down, select Configuration Manager.
- In the Configuration Manager dialog box, select Active solution platform drop-down and select <New..>.
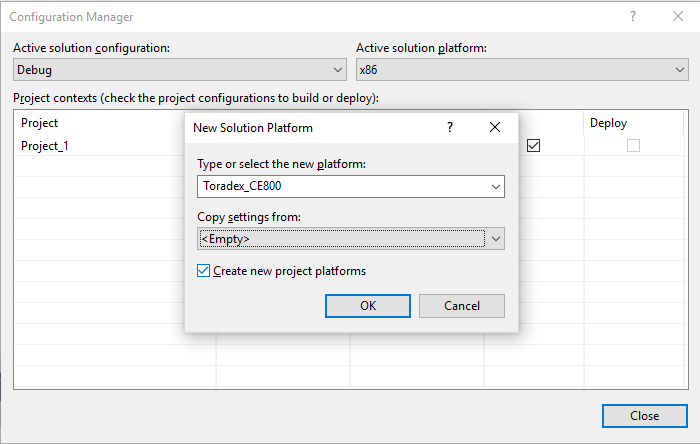
- New Solution Platform dialog box will open. Click on the first drop-down, select Toradex_CE800. In the second drop-down Copy settings from choose and click OK.
- Make sure the platform Toradex_CE800 is selected in the project table as well. Once confirmed, close the Configuration Manager dialog box.
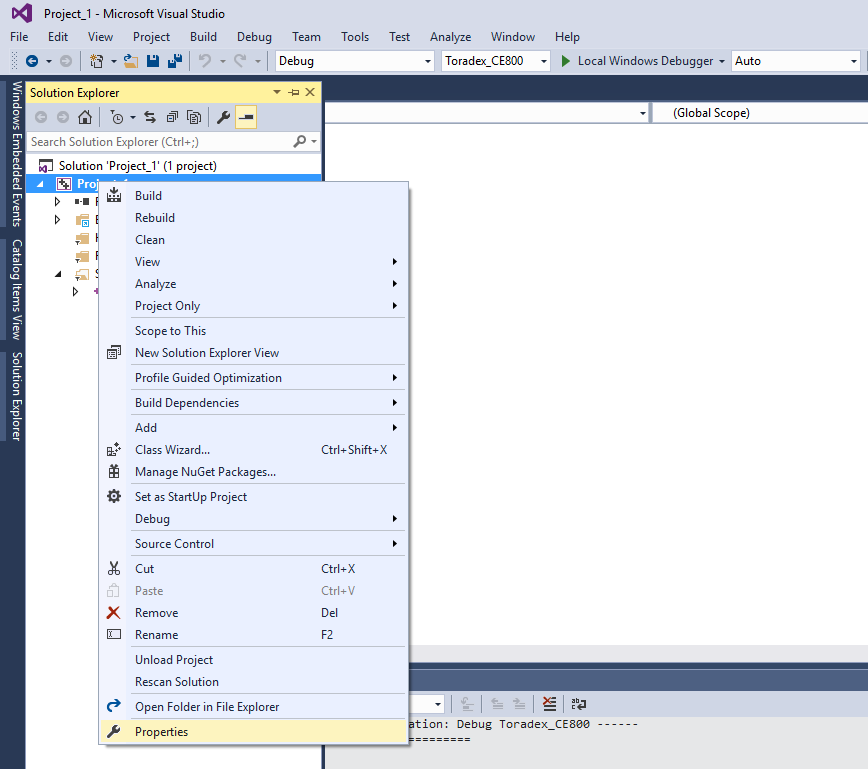
- In the Solution Explorer, right click on the project solution and select Properties.
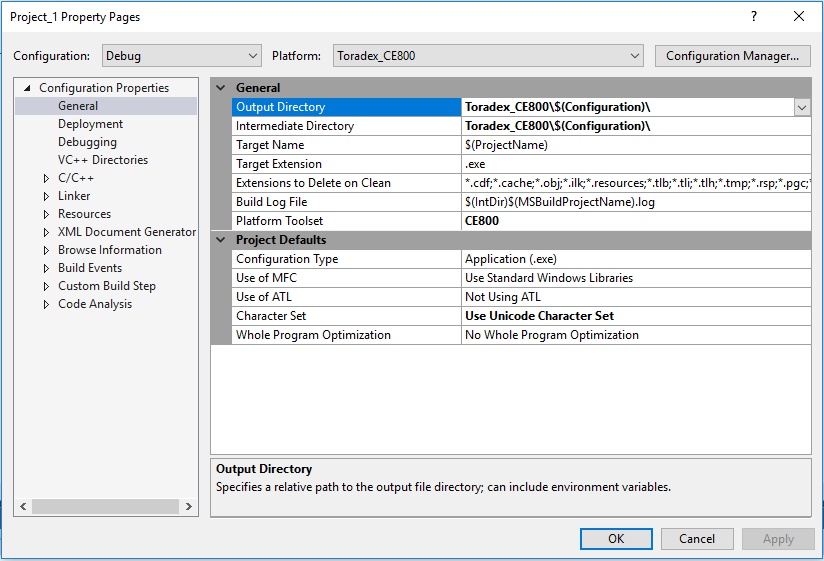
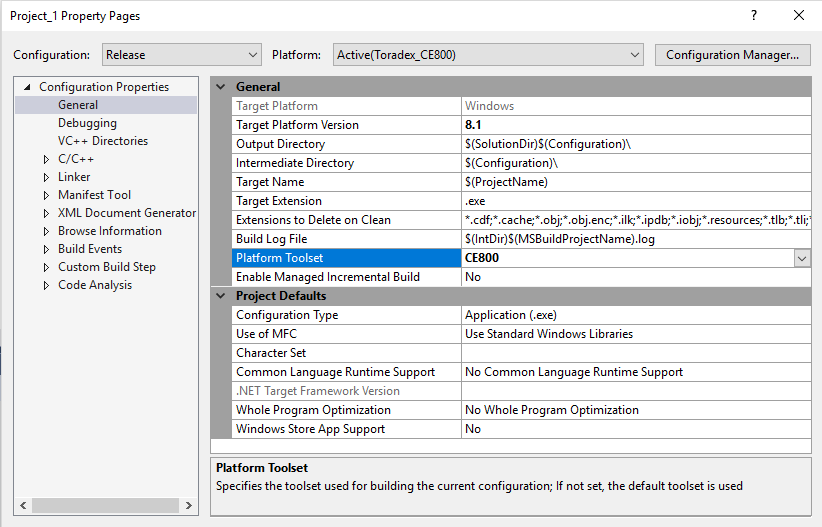
- In the Property Pages dialog box, choose General. Select the Output Directory as well as Intermediate Directoryand write the output directory in this demo application setup which is **Toradex_CE800\$(Configuration)**.
- In the Property Pages dialog box, choose General and select the right Platform Toolset which is CE800 from the drop-down.
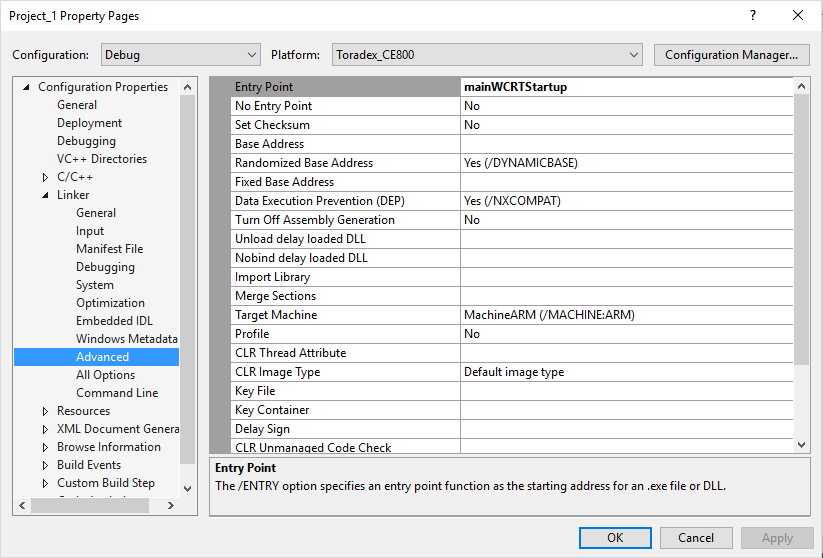
- In the Property Pages dialog box, select Linker tree and choose Advanced. In the Advanced configuration look for Entry Point and set it to mainWCRTStartup.
- In the Property Pages dialog box, select Linker tree and choose Command Line. In the Command Line configuration write /subsystem:windowsce,8.00 in the Additional Options. Once this is done, click on Apply and OK.
- Now build the application. Again in the Solution Explorer, right click on project solution and select Build. In the Output window you should get the message for the Successful build.
For deployment and debugging over Ethernet click on the article Application Debugging Over Ethernet Using Visual Studio for detailed instructions.
- After deploying, on the module, open My Device. Open Temp folder and later the Project_1 folder which contains a .exe file to run the application.
- Double click the .exe to Run the application.
You can download the sample project from here.
Note: Debugging and deployment over an Ethernet only works if both, the module and computer, are connected to the same network.
VS2015 does not support WEC2013 VCSharp development. It only support native C/C++ development.